If your 240Hz monitor shows only 60Hz in Windows, it’s usually because the display settings aren’t configured properly, your cables can’t support higher refresh rates, or your hardware isn’t compatible. Make sure you select the correct refresh rate in Display Settings, use high-quality cables like DisplayPort 1.4, and update your graphics drivers. Checking your monitor’s specs and connection can fix the issue. Keep going to discover step-by-step solutions to maximize your monitor’s performance.
Key Takeaways
- Ensure your monitor supports 240Hz at your current resolution by checking its specifications.
- Set the display refresh rate to 240Hz in Windows Advanced Display Settings.
- Use high-quality cables (DisplayPort or HDMI 2.0+) that support 240Hz bandwidth.
- Update your graphics card drivers to enable proper detection and output of higher refresh rates.
- Confirm your graphics card hardware can handle 240Hz at your selected resolution.
Understanding Refresh Rates and Why They Matter

Understanding refresh rates is essential because they directly affect how smooth your on-screen visuals appear. A higher refresh rate means your monitor updates images more frequently each second, resulting in smoother motion, especially during fast-paced activities like gaming or video editing. When your monitor runs at 60Hz, it updates 60 times per second, which can cause motion to look choppy or blurry if your system’s output exceeds that rate. Conversely, a 240Hz display refreshes 240 times per second, delivering incredibly fluid visuals. Knowing your monitor’s native refresh rate helps you optimize your viewing experience and ensures you’re not missing out on the smoothness your hardware can provide. It also helps prevent issues like screen tearing or stuttering that occur when display output and refresh rate are mismatched. Adjusting refresh rates can further enhance your visual experience by aligning your system’s output with your monitor’s capabilities.
Checking Your Monitor’s Native Refresh Rate Settings
To guarantee your monitor runs smoothly, you should verify that your display settings match its native refresh rate. Make certain you’re using the correct connection type, like DisplayPort or HDMI, for peak performance. Checking these settings helps prevent issues and keeps your display at its best. Additionally, understanding how refresh rates impact gaming performance can help you optimize your setup for a smoother experience.
Verify Display Settings
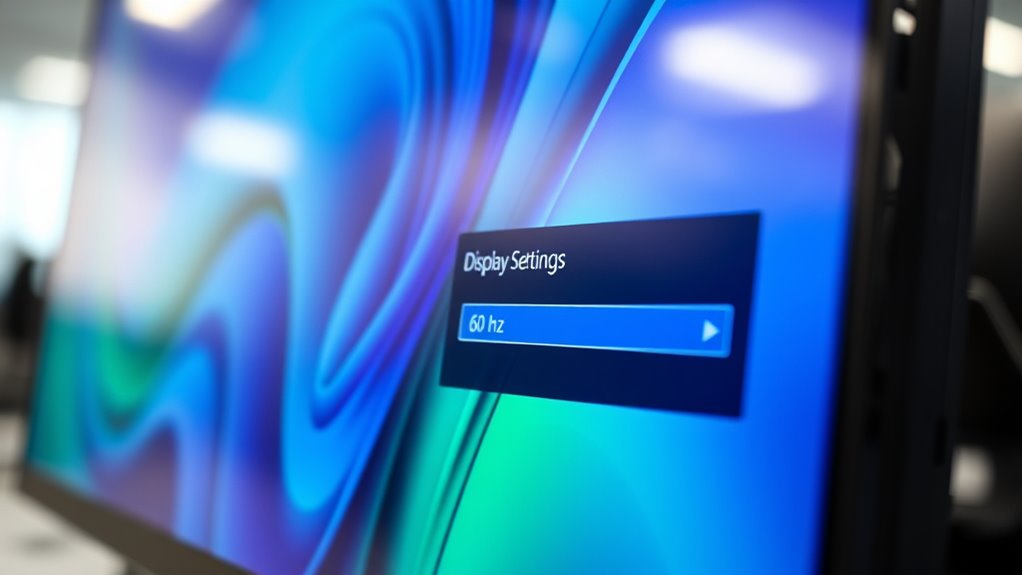
Checking your monitor’s native refresh rate settings is a crucial step in troubleshooting display issues. To do this, right-click on your desktop and select Display Settings. Then, click on Advanced Display Settings or Display Adapter Properties. In the window that opens, go to the Monitor tab. Here, you’ll see the current refresh rate listed under Screen Refresh Rate. Make sure it matches your monitor’s maximum supported rate, such as 240 Hz. If it doesn’t, select the dropdown menu and choose the correct high refresh rate. Applying these settings guarantees your display operates at its native refresh rate, preventing issues like screen flickering or low refresh rates showing in Windows. Confirming this setting is accurate is essential before exploring other potential solutions.
Use Proper Connection
Ensuring you’re using the proper connection between your monitor and computer is essential for maintaining the native refresh rate. Not all cables support high refresh rates, so double-check that you’re using HDMI 2.0 or higher, DisplayPort 1.4 or higher, or a compatible cable that can handle 240 Hz. Some older HDMI or DVI cables might limit your monitor to lower refresh rates, like 60 Hz. Also, verify that your graphics card ports support high-refresh-rate connections. When connecting, ensure the cable is securely plugged in and that your monitor’s input setting matches the port you’re using. Using the correct cable and port guarantees your monitor can display at its native refresh rate, preventing issues like Windows defaulting to 60 Hz.
Adjusting Display Settings in Windows for Optimal Performance

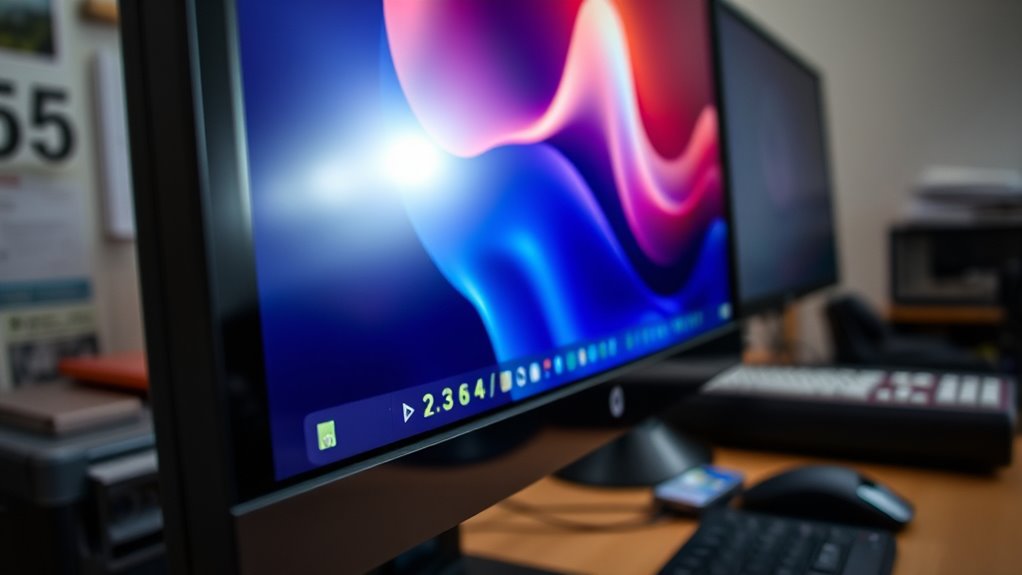
Adjusting your display settings in Windows can considerably improve your monitor’s refresh rate and overall performance. First, right-click on your desktop and select “Display settings.” Scroll down and click “Advanced display settings.” Here, choose your monitor from the list, then click “Display adapter properties.” In the new window, navigate to the “Monitor” tab. Under “Screen refresh rate,” select the highest supported rate, such as 240 Hz. Click “Apply” and then “OK.” This guarantees Windows uses the ideal refresh rate your monitor supports. Keep in mind, your connection type must support higher refresh rates, so verify you’re connected with the correct cable (like DisplayPort or HDMI 2.0+). Properly adjusting these settings helps your monitor display at its intended refresh rate for smoother visuals.
Updating or Reinstalling Graphics Card Drivers
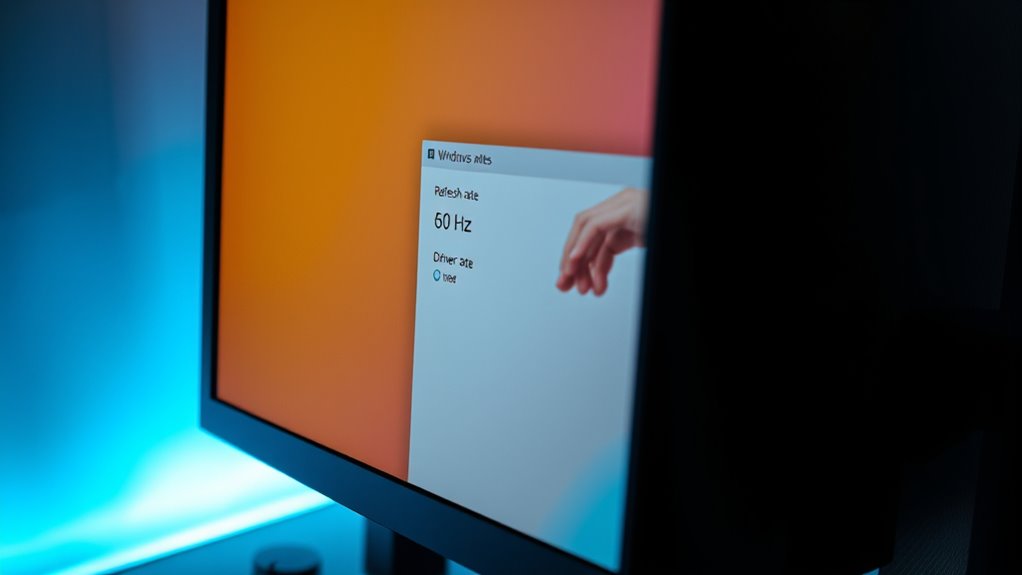
Updating or reinstalling your graphics card drivers can resolve display issues related to refresh rate problems. Outdated or corrupted drivers often cause Windows to misread your monitor’s capabilities, leading to a lower refresh rate display. To fix this, visit your GPU manufacturer’s website to download the latest driver version or use device management tools within Windows. Reinstalling drivers ensures any corrupt files are replaced, restoring proper communication between your GPU and monitor. Here’s a quick overview:
| Action | Result |
|---|---|
| Update drivers | Fixes bugs and improves compatibility |
| Reinstall drivers | Eliminates corruption and resets config |
| Use manufacturer tools | Automates update process |
| Manual driver installation | Ensures latest version is installed |
Keeping drivers current is vital for peak refresh rate performance and optimizing Ford Tuning features related to display settings.
Verifying and Configuring Your Connection Cables
Start by checking if your connection cables are compatible with your monitor and graphics card. Make sure they are securely plugged in and seated properly. Properly configured cables can prevent signal issues that affect your refresh rate.
Check Cable Compatibility
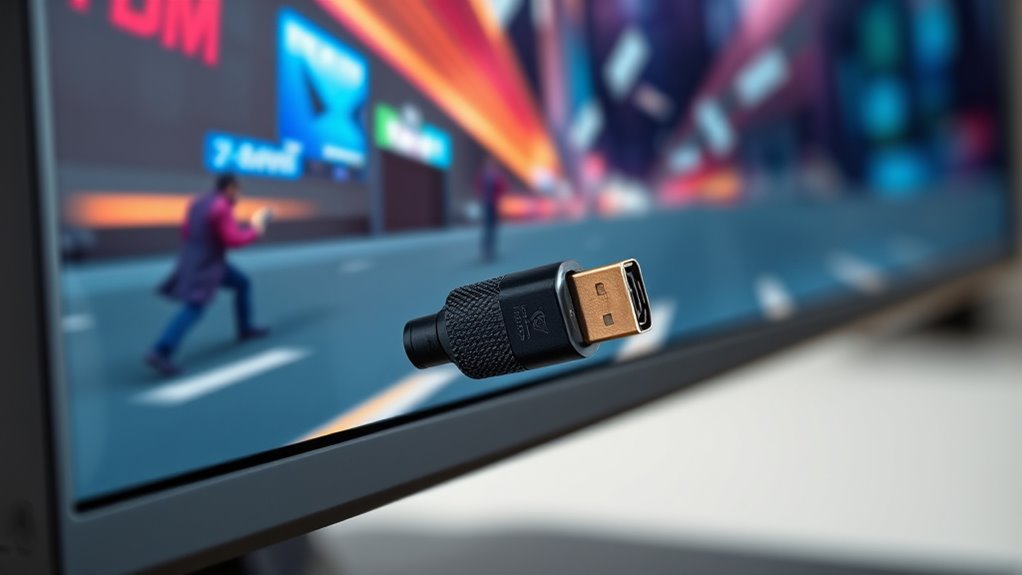
To guarantee your monitor displays at its ideal refresh rate, it’s vital to verify that your connection cables are compatible with the desired settings. Not all cables support high refresh rates like 240Hz, so check the specifications. For example, older HDMI cables might max out at 60Hz or 144Hz, while DisplayPort cables often support higher rates. Make sure you’re using the right type of cable that can handle the bandwidth required for your monitor’s refresh rate and resolution. Look for cables labeled as HDMI 2.0 or higher, or DisplayPort 1.2 or higher. Damaged or low-quality cables can also cause issues, so consider replacing any suspect cables with certified, high-quality ones to guarantee peak performance.
Ensure Proper Connection
Ensuring your connection cables are properly verified and configured is essential for achieving the correct refresh rate. Faulty or incompatible cables can limit your monitor’s performance, causing it to display at 60 Hz instead of 240 Hz. First, check that you’re using the right cable type—DisplayPort 1.4 or HDMI 2.1 are recommended for high refresh rates. Next, ensure the cable is securely connected to both your monitor and graphics card. Finally, verify that your cable isn’t damaged or too long, as quality and length can affect signal integrity. Additionally, using certified high-speed cables compatible with your monitor’s specifications can prevent issues.
- Use certified high-speed cables compatible with your monitor’s specifications
- Avoid using adapters or daisy-chaining multiple cables
- Test with a different cable to rule out hardware issues
Ensuring Your Monitor Supports 240 Hz at the Correct Resolution

Before you enjoy the benefits of a 240 Hz refresh rate, it’s essential to confirm that your monitor can actually support that speed at the desired resolution. Check your monitor’s specifications—most manufacturers list supported refresh rates and resolutions in the user manual or on their website. Verify that your monitor’s highest refresh rate is available at the resolution you plan to use. Keep in mind that some monitors only support 240 Hz at lower resolutions like 1080p. Also, verify that your graphics card can handle outputting 240 Hz at that resolution. If your hardware or monitor doesn’t support 240 Hz at your preferred resolution, you won’t see the desired refresh rate, regardless of your settings. Confirming these details prevents unnecessary troubleshooting later. Additionally, understanding monitor specifications can help you make informed decisions about compatible hardware.
Troubleshooting Common Software and Hardware Issues
Many software and hardware issues can interfere with achieving a smooth 240 Hz refresh rate. First, verify your graphics drivers are up to date, as outdated drivers often cause detection problems. Second, check that your display settings are correctly configured in Windows, including selecting the right refresh rate and resolution. Third, confirm your HDMI or DisplayPort cable supports the bandwidth needed for 240 Hz; some cables or ports may bottleneck the signal.
- Updating graphics drivers from the manufacturer’s website
- Adjusting refresh rate settings in Windows display options
- Using high-quality, certified cables and ports for high refresh rates
Additional Tips for Maximizing Your Monitor’s Capabilities
To get the most out of your monitor’s capabilities, you should fine-tune both your hardware and software settings. Confirm your GPU drivers are up to date, as outdated drivers can limit performance. Use your graphics card’s control panel to set the correct refresh rate and enable G-Sync or FreeSync if supported. Adjust in-game or application settings to match your monitor’s maximum refresh rate for smoother visuals. Keep your cables high-quality and securely connected to prevent signal issues. Additionally, disable unnecessary background processes that might interfere with performance. Regularly calibrate your display to optimize color accuracy and response time. For those interested in hardware upgrades, consider monitor compatibility when choosing new components. By maintaining these settings and checks, you’ll ensure your monitor performs at its highest potential, delivering the smooth and responsive experience you expect.
Frequently Asked Questions
Can Some Games Force a Lower Refresh Rate Even if My Monitor Supports 240 Hz?
Yes, some games can force a lower refresh rate even if your monitor supports 240 Hz. Developers sometimes set default refresh rates or V-Sync options that limit the output to reduce tearing or improve stability. To fix this, check your in-game settings and Nvidia or AMD control panels, ensuring the refresh rate is set to 240 Hz. You might also need to disable V-Sync or set the refresh rate manually.
Does Windows Need Specific Settings or Updates to Recognize High Refresh Rates?
Imagine your Windows as a diligent librarian, eager to organize a vast collection. To recognize your high-refresh-rate monitor, you need the right updates and settings—like giving the librarian a new catalog. Make sure your graphics drivers are current, enable the correct refresh rate in display settings, and keep Windows updated. These steps help Windows see your monitor’s true potential, revealing smooth visuals and vibrant gaming experiences you deserve.
How Do I Identify if My Monitor’s Firmware Needs Updating?
To see if your monitor’s firmware needs updating, check the manufacturer’s website for your monitor model. Look for any firmware or driver updates available. You can also use your monitor’s on-screen menu or software tools provided by the manufacturer to check current firmware versions. If an update is available, follow the instructions carefully to install it. Updating firmware can improve performance and fix bugs, ensuring your monitor runs smoothly.
Are There Compatibility Issues Between Certain GPUS and 240 Hz Monitors?
Think of your GPU and monitor as dance partners; if they’re out of sync, your performance suffers. Yes, some GPUs, especially older or lower-end models, might struggle with high refresh rates like 240Hz due to limited bandwidth or compatibility issues. To avoid this, check your GPU’s capabilities, update drivers, and verify your monitor’s specifications match your GPU’s output. Proper pairing ensures a smooth, synchronized performance like a perfectly choreographed dance.
Can Third-Party Software Improve or Interfere With My Monitor’S Refresh Rate Detection?
Third-party software can both help and hinder your monitor’s refresh rate detection. Some apps optimize display settings or provide better control over refresh rates, making it easier to get your 240 Hz working correctly. However, other programs might interfere or cause conflicts, leading Windows to misdetect your monitor’s capabilities. Always verify you use reputable software and keep your drivers and display settings updated for the best performance.
Conclusion
So, you’ve followed all the steps and still see only 60 Hz? Maybe your monitor’s just playing hard to get, or Windows is being stubborn. Don’t worry—you’re not alone in this pixelated paradise. With a little patience and a dash of tech wizardry, you’ll soon enjoy silky-smooth gameplay and crisp visuals. After all, who needs a 240 Hz monitor if you don’t get to experience its full glory? Happy gaming!

